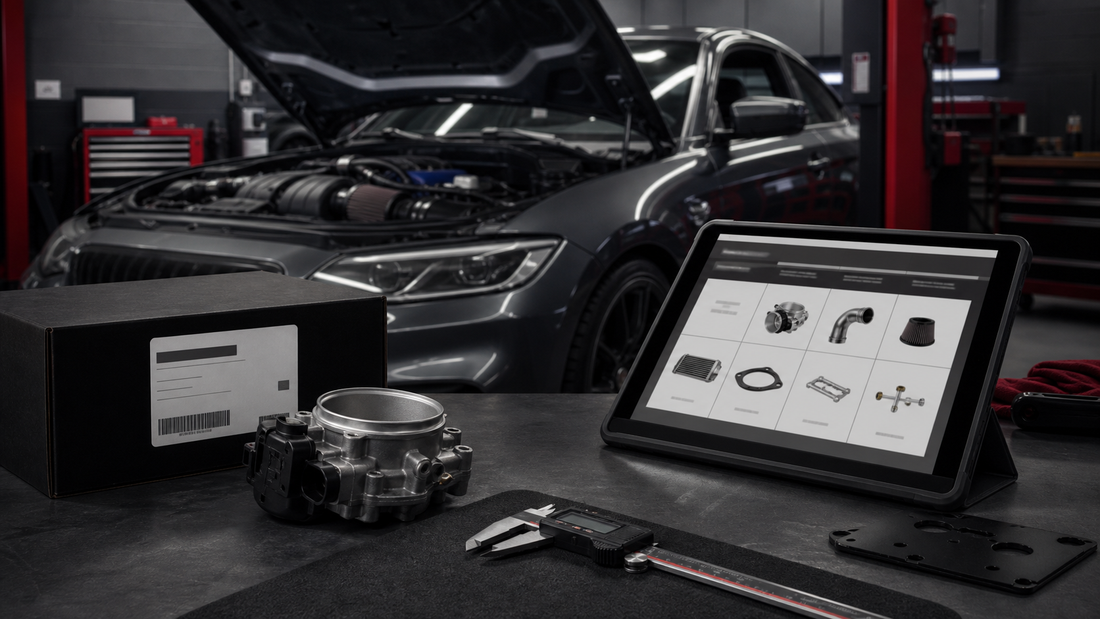
A successful performance build is a coordinated system, not a sequence of unrelated popular parts. Begin with a measurable goal, inspect the vehicle's baseline condition, choose the tires and safety capability the goal requires, then plan power, cooling, drivetrain, suspension and calibration around one another. Budget for labor, fluids, hardware, alignment, tuning and unexpected findings—not only the headline components.
Key takeaways
- Define how the vehicle should perform and where it will be used.
- Complete maintenance and diagnosis before modifying a weak baseline.
- Plan supporting modifications and calibration with the primary upgrade.
- Keep a parts, fitment, cost and measurement record throughout the build.
1. Write a specific goal
“Make it faster†is not specific enough. Define street response, quarter-mile consistency, autocross balance, circuit endurance, towing control, off-road travel or appearance. Include fuel availability, climate, ride tolerance, noise, emissions, passenger use and service expectations.
Set a realistic output or lap-use target based on the platform and budget. A responsive road car may benefit from a broad torque curve more than a large peak number.
2. Inspect and establish the baseline
Scan for faults and inspect fluids, leaks, cooling, compression where appropriate, belts, hoses, mounts, joints, wheel bearings, tires, brakes and alignment. Record current performance safely through logs or professional testing where useful.
Modifications can hide symptoms temporarily or magnify them. Repair faults first and retain a known-good baseline for comparison.
3. Build a complete budget
List parts, shipping, tax, tools, labor, fabrication, machine work, tuning, alignment, fluids, gaskets, fasteners and inspections. Include a contingency for broken hardware, worn components and compatibility changes discovered during installation.
| Budget group | Examples | Often forgotten |
|---|---|---|
| Primary parts | Intake, turbo, suspension, brakes | Required matched components |
| Installation | Labor, fabrication, machine work | Access-related maintenance |
| Consumables | Fluids, seals, gaskets, hardware | One-time fasteners |
| Setup | Tuning, alignment, corner weights | Diagnostic and dyno time |
| Ownership | Service, pads, tires, filters | Shorter inspection intervals |
| Contingency | Unexpected wear or fitment | Alternative transport and downtime |
4. Choose tires and braking for the task
Tires define the road contact available for acceleration, cornering and braking. Choose a size, compound and load capability suitable for weather and use. Confirm wheel width, offset, brake clearance and suspension travel.
Inspect brake condition and select pad, fluid and cooling for the heat load. A big brake kit is useful when additional capacity or torque is required, not simply because power increased.
5. Plan chassis and suspension
Repair worn bushings, joints, dampers and bearings before tuning handling. Choose springs, dampers, coilovers, bars and alignment as a balanced package. Retain usable travel and clearance. Street and track settings have different needs.
Make one controlled change at a time where possible and record alignment and damper baselines.
6. Plan power as an airflow, fuel and heat system
An intake, exhaust or turbo change affects sensors, calibration, fuel demand and temperature. Define the airflow and response goal with the tuner. Confirm fuel pump and injector capacity, intercooling, oiling, coolant, crankcase ventilation, exhaust backpressure and emissions requirements.
Do not rely on a universal horsepower claim. Use platform-specific evidence and safe calibration.
7. Evaluate drivetrain capacity
Follow torque through clutch or converter, transmission, driveshaft, differential, axles and hubs. Consider torque delivery, gearing, vehicle mass and tire grip. An abrupt clutch or high-grip launch can transfer shock downstream.
Plan mounts and cooling with acceptable noise and vibration. Verify exact transmission and spline fitment.
8. Resolve fitment before ordering
Record year, generation, engine, drivetrain, transmission, trim, production date, factory options and modifications. Match exact manufacturer part numbers and read all application notes. Measure universal parts and wheel or brake clearances with approved templates.
9. Sequence the work
A practical sequence is baseline maintenance; tires and brakes; chassis condition and alignment; supporting fuel and cooling; primary power hardware and calibration; drivetrain reinforcement based on measured need; then refinement. Some builds require a different order because labor overlaps or one change depends on another.
Group work that shares access—for example clutch and rear-main inspection—but do not install unverified parts merely because the vehicle is apart.
10. Plan tuning and validation
Arrange ECU or transmission calibration before operating hardware changes under load. Define sensors, logging and safeguards. After each phase, inspect leaks, fasteners, clearances, temperatures, alignment and wear. Validate in a controlled environment.
A sample phased roadmap
- Phase 0: diagnosis, maintenance and baseline records.
- Phase 1: tires, brake service and driver ergonomics.
- Phase 2: suspension condition, matched components and alignment.
- Phase 3: airflow, fuel, cooling and calibrated power changes.
- Phase 4: drivetrain upgrades based on actual torque and use.
- Phase 5: data-led refinement, heat management and service plan.
Common planning mistakes
- Buying parts before defining a goal.
- Spending the complete budget on the primary hardware.
- Modifying a vehicle with unresolved faults.
- Planning power without fuel, cooling or calibration.
- Choosing extreme suspension settings for a street car.
- Ignoring tires and brakes.
- Ordering from model name rather than exact part number.
- Changing many variables and losing the baseline.
- Assuming the finished build needs factory service intervals.
Build worksheet
- Primary use and measurable goal
- Exact vehicle and current modifications
- Baseline condition and diagnostic results
- Parts list with MPNs and dependencies
- Fitment notes and required measurements
- Parts, labor and contingency budget
- Installation and calibration sequence
- Post-install validation and service schedule
Use FSP collections for engine components, suspension, drivetrain and other confirmed catalog areas. Verify every individual product application before ordering.
Frequently asked questions
Should power upgrades come first?
Not automatically. A healthy baseline, suitable tires and safe braking may be the better first investment.
How much should I reserve for unexpected costs?
It varies, but include meaningful contingency for wear, labor and supporting parts rather than committing the entire budget initially.
Should I install all modifications at once?
Phases make diagnosis and comparison easier, although some related work is efficient to combine.
How do I avoid buying parts twice?
Define the end state, map dependencies and confirm exact fitment before purchasing intermediate components.
Safety note: Increased performance changes heat, load and vehicle behavior. Use qualified installation, tuning and controlled testing, and comply with applicable road and emissions requirements.